Starting an online store in 2025 is more accessible than ever, thanks to platforms like WooCommerce. Whether you’re selling physical products, digital downloads, or services, WooCommerce offers a flexible and scalable solution.
This tutorial will will walk you through how to set up your WooCommerce store on Hostinger (our preferred web host):
Step 1: Choose a space for your new site
Think of a WooCommerce like opening a physical store. First things first, you need some space to open a store, right? Online, that space is called hosting. It’s basically your little slice of the internet where it stores your site’s files and makes them accessible online. You usually rent it out for a monthly or yearly fee.
To get your hosting in place, head to Hostinger and click on that button as shown in image or you can redirect to pricing from menu.
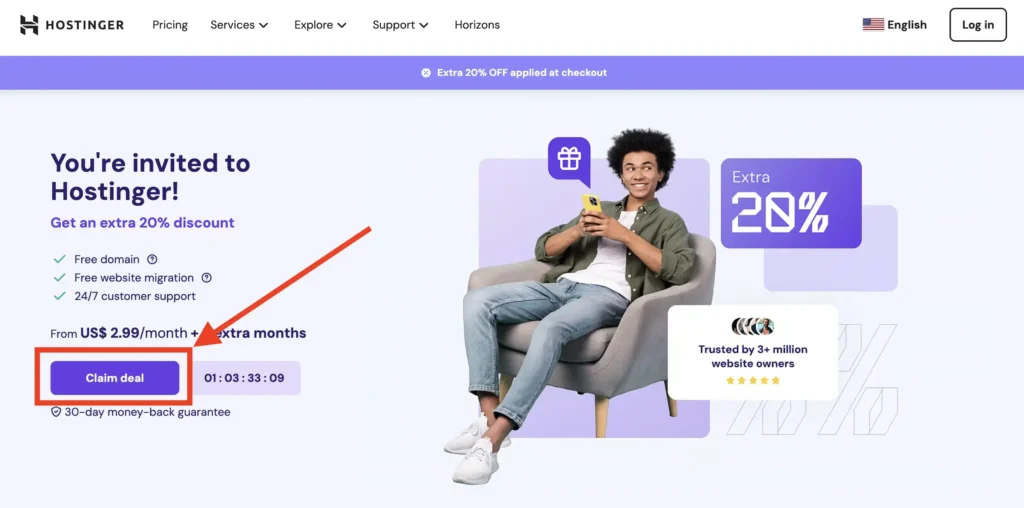
Note: receive exclusive pricing by signing up through this link.
a. Select a plan
The “choice plus” plan is the most popular and really does give you the most bang for your buck, but if you want to start with the “basic” plan due to limited funds, know you can always upgrade in the future if needed.
To get started:
- Select a Hosting Plan: Most providers offer tiered plans. For beginners, a basic plan typically includes:
- One website
- Free SSL certificate
- Automatic WordPress installation
Recommended Plan: Business Web Hosting
- Price: $3.99/month (with a 48-month commitment)
- Renewal: $13.99/month after the initial term
- Includes:
- Free domain for the first year (e.g., .com, .net, .store)
- 50 GB NVMe SSD storage
- Unlimited bandwidth
- Daily and on-demand backups
- Free SSL certificates
- WooCommerce compatibility
- WordPress AI tools
- Free CDN
- Priority support
This plan is ideal for small to medium-sized online stores, offering ample resources and tools to ensure smooth operation and scalability.
👉 Check link for Hostinger’s Business Web Hosting Plan

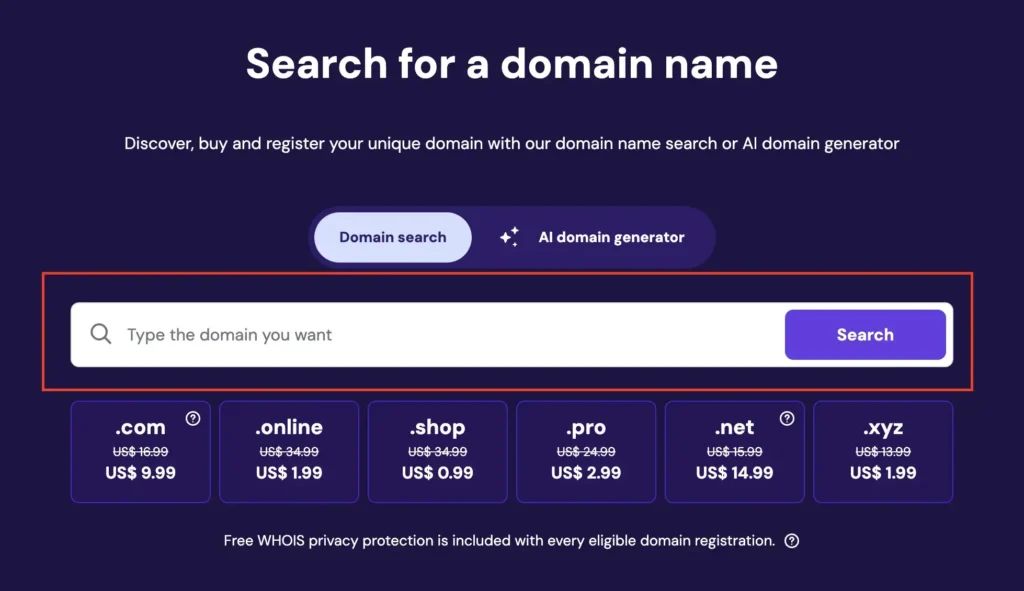
b. Domain Registration with Hostinger
Register a Domain Name: During the signup process, you’ll have the option to register a new domain (e.g., www.yourstore.com) or use an existing one.
- Free Domain: Included with annual hosting plans (excluding the Single plan).
- TLD Options: .com, .net, .store, and more.
- Renewal Cost: Typically ranges from $10 to $20 per year, depending on the TLD.
By choosing the Business Web Hosting plan, you can register your desired domain at no additional cost for the first year, streamlining the setup process for your WooCommerce store.
Navigate to Hostinger’s Domain Name Search page:: 👉 Hostinger Domain Name Search
Step 2: Install WordPress
Getting Started with WordPress on Hostinger
Once you’ve completed the setup steps, Hostinger will automatically install WordPress for you. This means you can dive straight into building your online store without any delays.
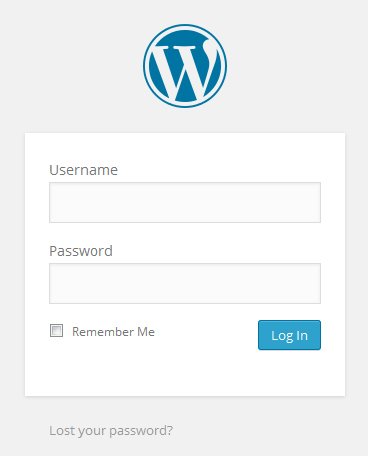
To access your site’s admin dashboard, simply visit: www.yourdomain.com/wp-admin (Replace “yourdomain.com” with your actual domain name.)
This URL will take you to the login screen where you’ll manage the backend of your website. It’s a good idea to bookmark this page for quick access in the future.
Log in using the credentials you saved during the setup process and click the “Log In” button.
Basic WordPress Settings
Once you’re logged in, start by configuring some essential site settings:
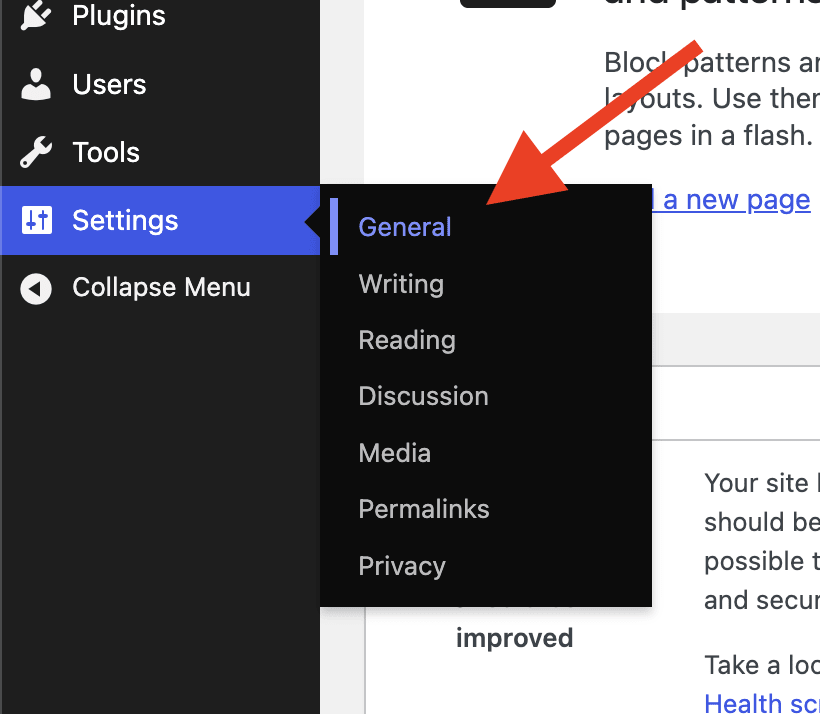
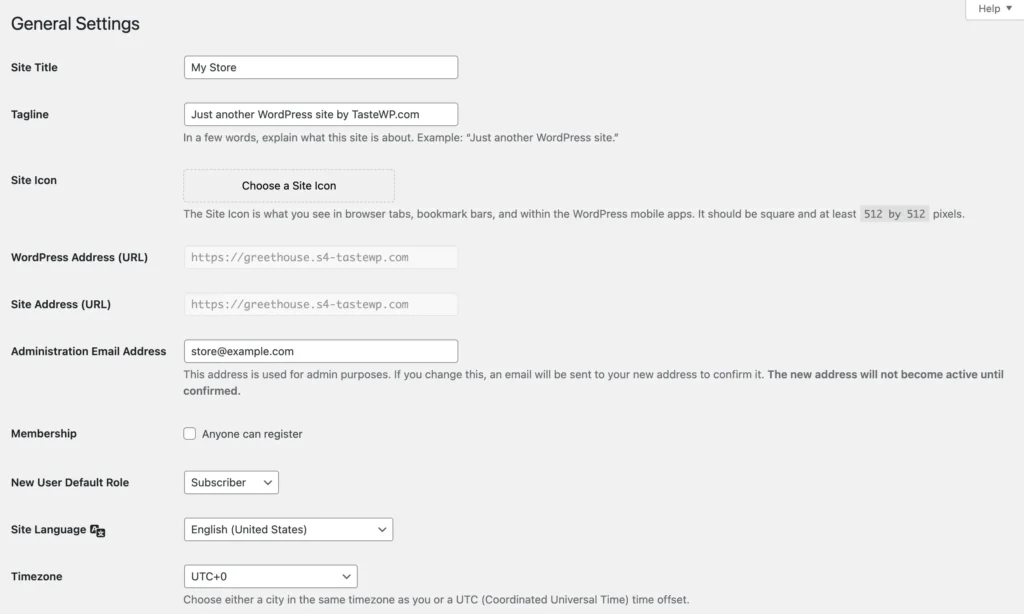
- In your WordPress dashboard, go to Settings > General.
- Enter your Site Title and Tagline.
- Review the other fields and make any necessary updates.
- Click Save Changes once you’re done.
Optimize Your Permalink Structure
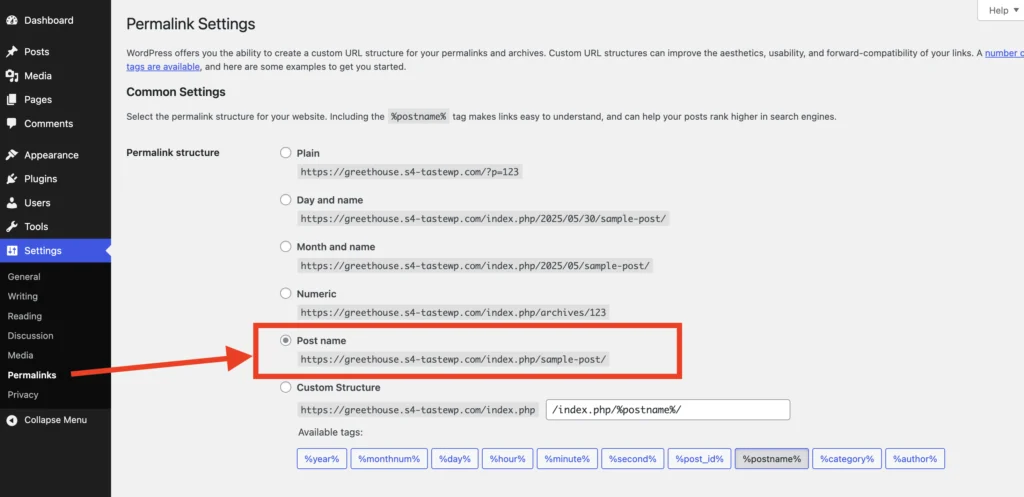
To improve your site’s SEO, it’s highly recommended that you change your permalink settings:
- Navigate to Settings > Permalinks.
- Select the “Post name” option.
- Click Save Changes.
This setting ensures your URLs are clean, descriptive, and search-engine-friendly.
Explore Additional Settings
Take a few minutes to review the other options under the Settings menu to tailor your site to your preferences. Each section offers different customization options that can help you better manage your site.
Step 3: Install and Activate WooCommerce
To turn your WordPress site into a fully functional online store, install the WooCommerce plugin. This powerful tool adds eCommerce features like product listings, payments, and shipping. Once activated, the setup wizard will help you configure essential store settings in just a few clicks.
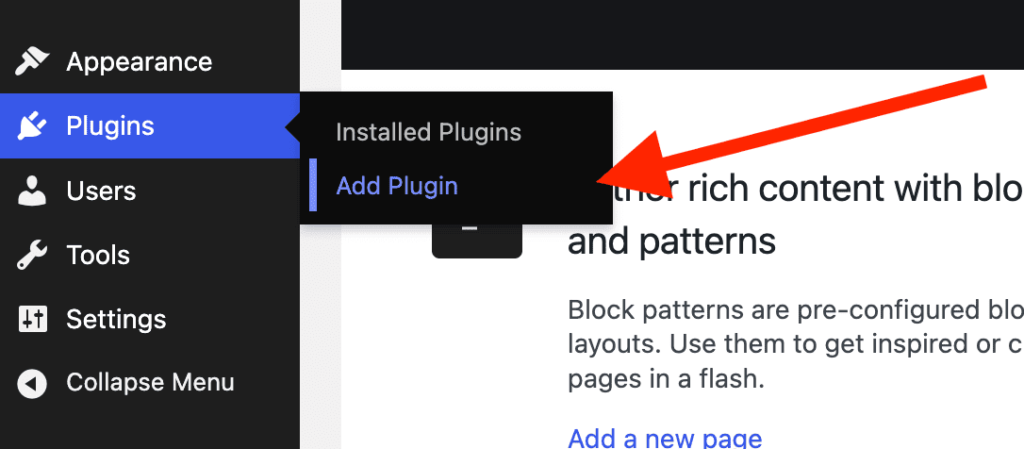
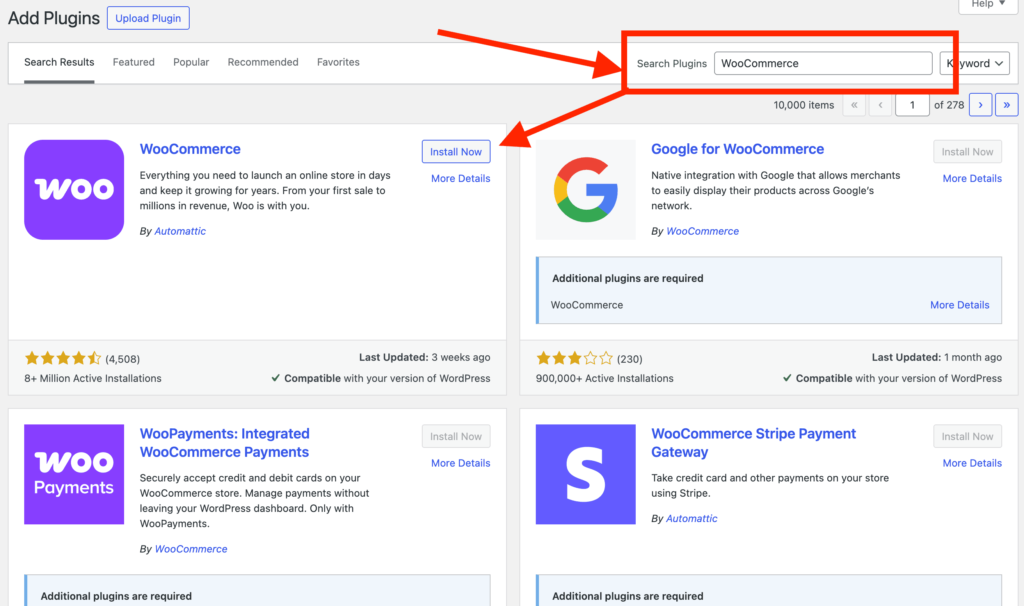
- Install WooCommerce:
- Go to Plugins > Add New.
- Search for “WooCommerce”.
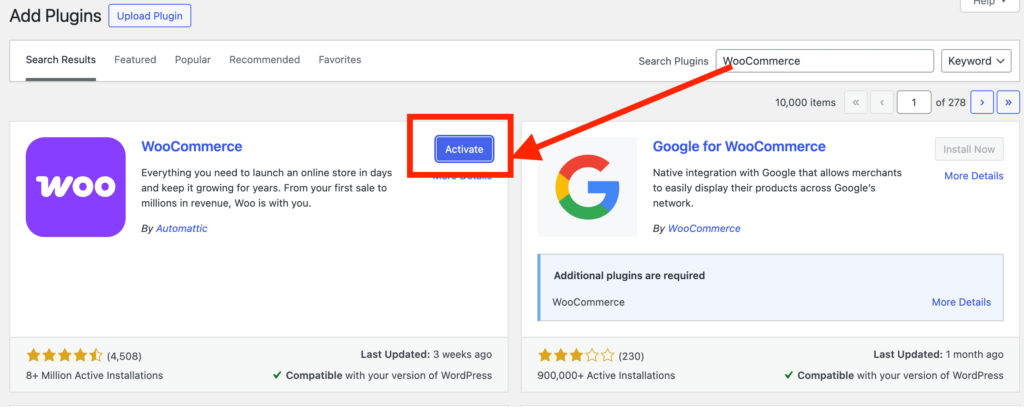
- Click Install Now, then Activate
- Run the Setup Wizard: WooCommerce will guide you through configuring your store’s basic settings, including:
- Store details (address, currency, product types)
- Payment methods (e.g., PayPal, Stripe)
- Shipping options
- Recommended extensions
Step 4: Choose a WooCommerce-Compatible Theme
Now that your store is set up, it’s time to give it a design that reflects your brand and appeals to your customers. WordPress includes several free themes you can access by going to Appearance > Themes. These are a great starting point if you’re working with a limited budget, though they often offer minimal design and customization options.
Want something more polished and unique?
For a more professional and tailored look, you can work with a design agency or choose from a curated selection of premium WordPress themes specifically built for WooCommerce. These themes are designed to enhance the shopping experience and provide better customization and performance.
Explore our latest WooCommerce themes — crafted to help your store stand out and succeed.

Glowzy

Bagaicha
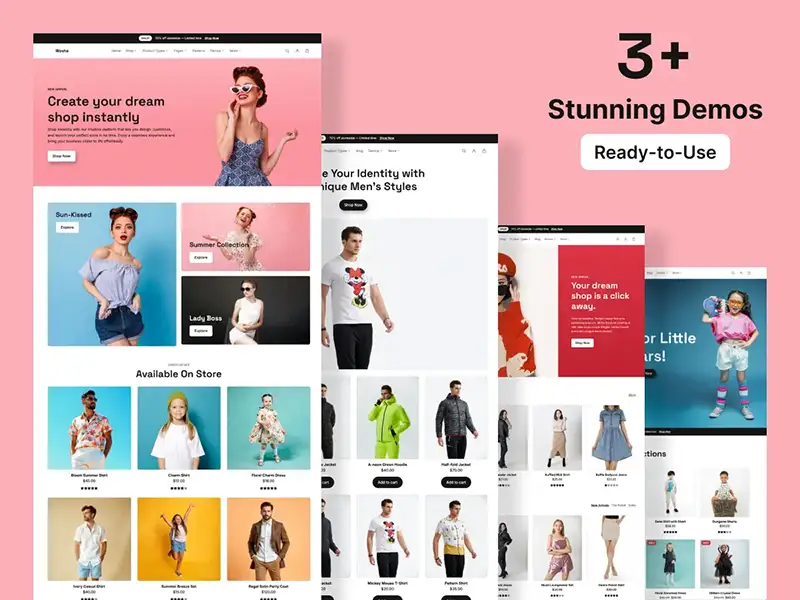
Wosha
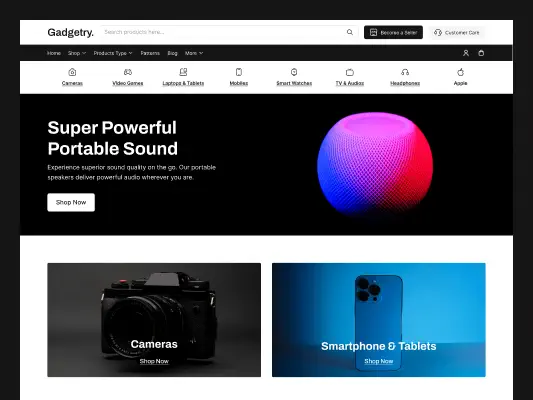
Gadgetry
Step 5: Add Your Products
Now that your store design is in place, it’s time to start filling it with products. Adding products in WooCommerce is simple and straightforward. Just follow these steps to enter all the key details and organize your inventory effectively:
- Navigate to Products > Add New.
- Enter product details:
- Product Name
- Description
- Price
- Product Image
- Inventory Status
- Set product categories and tags to organize your inventory.
Note: For a more in-depth guide on adding and managing WooCommerce products, refer to the official WooCommerce documentation: https://woocommerce.com/document/managing-products/add-product/
Step 6: Configure Shipping and Tax Settings
To ensure smooth order processing and compliance, it’s important to set up your shipping and tax options correctly. WooCommerce makes it easy to manage these settings through your dashboard:
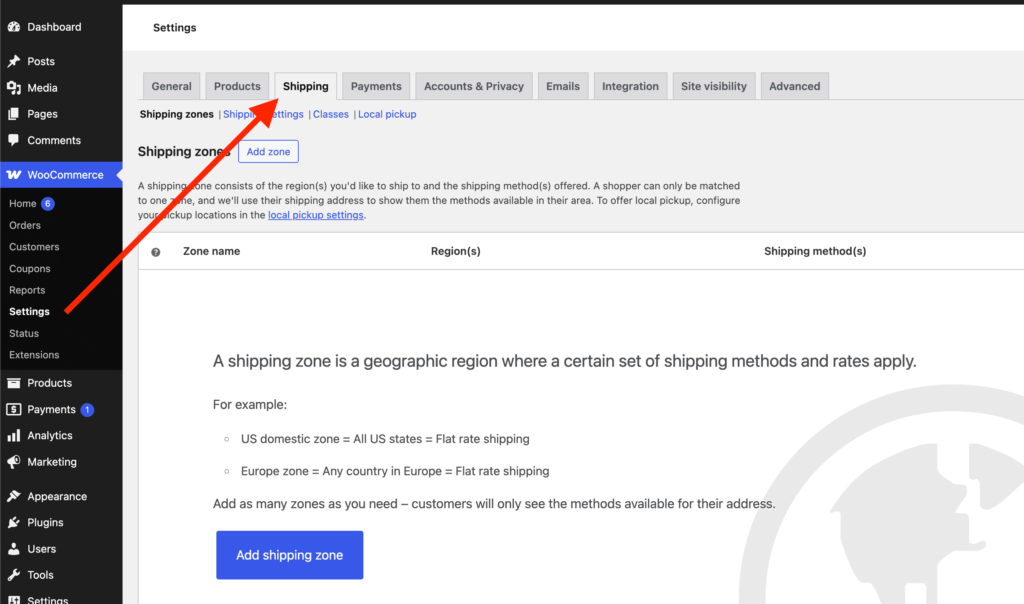
- Shipping:
- Go to WooCommerce > Settings > Shipping.
- Define shipping zones (e.g., regions or countries).
- Set shipping methods and rates for each zone.
Step 7: Launch Your Store
With everything set up, you’re ready to go live! Before officially opening your store to customers, it’s important to test its functionality, promote it effectively, and monitor its performance:
- Test Your Store:
- Place test orders to ensure the checkout process works smoothly.
- Verify that emails (order confirmations, shipping notifications) are sent correctly.
- Promote Your Store:
- Share your store on social media platforms.
- Consider running advertising campaigns to attract visitors.
- Monitor Performance:
- Use tools like Google Analytics to track visitor behavior.
- Regularly update your plugins and themes to maintain security.
Leave a Reply